


Air intake systems enhance engine performance by allowing clean, cold air into the engine. Upgrading filters or installing cold air intakes improves combustion efficiency. Installation requires tools, safety gear, and preparation. Research compatible systems, clean the engine bay, remove factory components, and follow manufacturer instructions for secure installation. Test for leaks and fine-tune settings for optimal performance gains.
Unleash your vehicle’s hidden power with expert tips on air intake installation. Discover the art of enhancing engine performance by optimizing airflow. This comprehensive guide delves into the intricacies of understanding air intake systems, equipping you with the knowledge to prepare for and execute a seamless installation process. Learn from safety measures to step-by-step techniques, ensuring optimal results. Master the craft, transform your engine, and experience the thrill of enhanced performance on the road.
- Understanding Air Intake Systems and Their Functionality
- Preparing for Installation: Tools, Materials, and Safety Measures
- Step-by-Step Guide to Air Intake Installation for Optimal Engine Performance
Understanding Air Intake Systems and Their Functionality

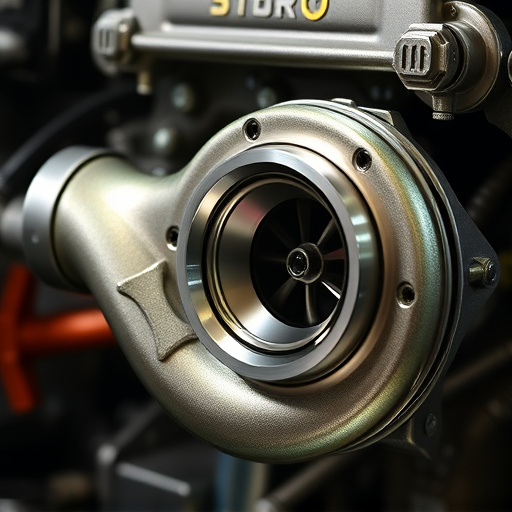
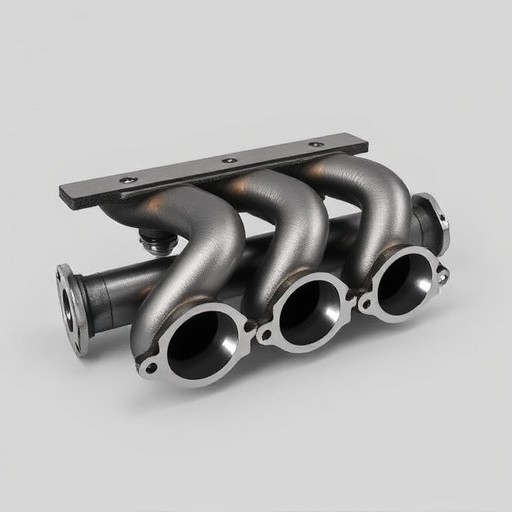
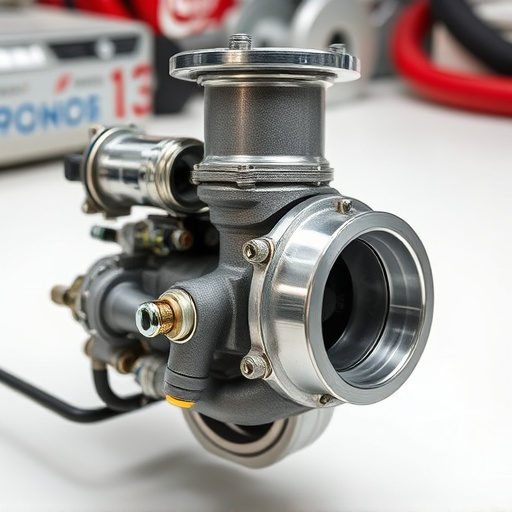
Air intake systems are a critical component of any vehicle’s engine performance. They facilitate the entry of cold, dense air into the engine, which is essential for optimal combustion. Understanding how these systems work is paramount when considering an air intake installation. The primary function of an air intake system is to draw in ambient air, ensuring it’s as clean and cool as possible before it enters the engine. This process begins with a filter that traps contaminants, followed by tubing or ducts that direct the airflow efficiently.
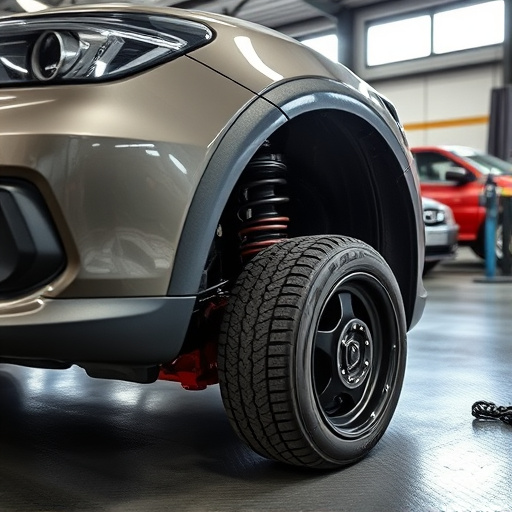
Effective air intake systems minimize restrictions, allowing for better airflow and more efficient combustion. Upgrading to performance air filters or installing cold air intakes can significantly enhance engine performance. These modifications improve airflow by reducing backpressure and optimizing the mixture of air and fuel. Additionally, proper air intake installation considers the vehicle’s suspension components, ensuring that the system maintains stability and control during driving, thereby maximizing both performance and safety.
Preparing for Installation: Tools, Materials, and Safety Measures

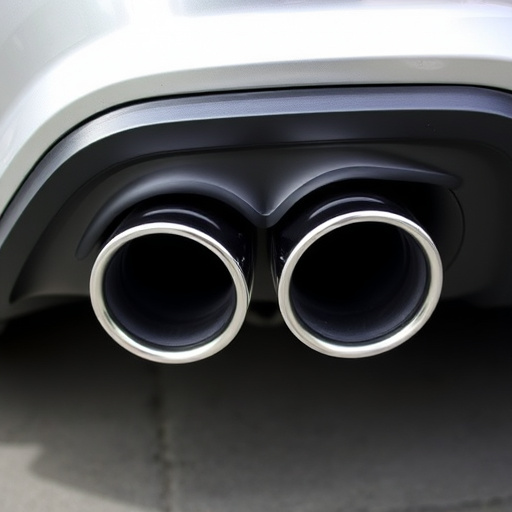
Before beginning any air intake installation, ensure you have all necessary tools and materials on hand, including a set of socket wrenches, ratchets, pliers, and a new air intake system designed for your vehicle model. Safety is paramount; wear protective gear like gloves and safety glasses, and make sure the engine is off and cool to touch. Remove any debris or old components from the existing air intake area, taking note of the placement of screws and brackets for easy reassembly. Check if you need to replace exhaust muffler tips or modify the existing setup to accommodate the new air intake system. Proper preparation ensures a smoother installation process and optimal engine performance once completed.
Step-by-Step Guide to Air Intake Installation for Optimal Engine Performance

Installing a high-flow air intake system is a popular modification among car enthusiasts aiming to boost engine performance. Here’s a step-by-step guide to help you achieve optimal results:
1. Identify Your Vehicle’s Needs: Start by researching air intake systems compatible with your vehicle make and model. Consider factors like climate, driving conditions, and desired power increase. Ensure the chosen system aligns with your goals, whether it’s enhancing fuel efficiency or increasing horsepower.
2. Prepare Your Engine Bay: Before installation, carefully clean the engine bay to remove any dirt or debris that might affect airflow. Remove the factory air box and associated components, taking note of their placement for easy reassembly. This step ensures proper fitment and allows for optimal air flow into the engine.
3. Install the Air Intake System: Follow the manufacturer’s instructions precisely. Securely attach the new air intake to the engine, ensuring a tight seal around the mounting points. Connect any sensors or wiring as required. Proper installation is crucial for both performance and safety.
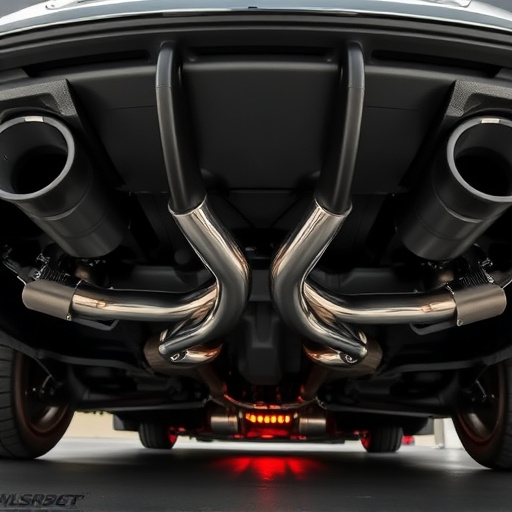
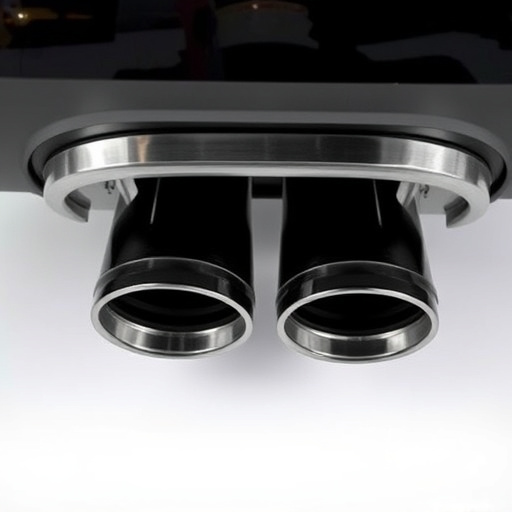
4. Integrate with Other Modifications: If you plan on combining this upgrade with other components like a cat back exhaust or suspension kits, ensure compatibility. Some systems may require adjustments to accommodate these modifications for optimal airflow and performance. For instance, installing exhaust mufflers can impact air intake placement.
5. Test and Fine-Tune: After installation, start the engine and check for any leaks. Adjust clamps or gaskets as needed. Run a few test drives, monitoring the engine’s response and fuel efficiency. You may need to fine-tune settings on your vehicle’s computer (if applicable) for optimal performance.
Air intake installation is a crucial step in enhancing engine performance. By understanding the system’s functionality and following a meticulous preparation process, you can ensure optimal results. The step-by-step guide provided offers a clear path to achieving maximum efficiency, allowing you to unlock your vehicle’s full potential. Remember, proper air intake installation is a game-changer for any car enthusiast seeking improved engine output and overall driving experience.